Vela Creations is an in-depth resource for off grid living. The site documents our research and experiences, hoping that they might help others interested in pursuing this lifestyle. This blog is designed to document our day to day experiences as we build our new, sustainable homestead. If you are interested in seeing more photos and videos, we have a flickr account at the following url: http://flickr.com/photos/35090117@N05/collections/

Showing posts with label posts. Show all posts

Saturday, November 28, 2009

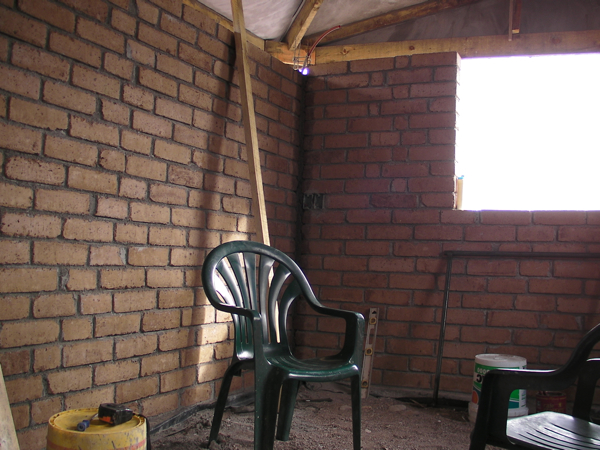
Brick walls are finished


After another week of not being able to work on the house, we did get a few days done this week, and saw a lot of progress.

The bricks are now all laid. This was our first brick laying experience and on the final (5th) day, the two of us laid 180 bricks: we are getting better and faster.

We then poured the posts at the corners and at either side of the door and
window. We used wooden forms for these instead of our preferred fabric forms. The door and window frame are now in place. It is looking more and more like a real room.

We have now started framing the bond beam. We should be able to pour that on Monday.

For more photos, click here.

Sunday, August 2, 2009

Kids' Rooms

This is the project we are currently working on. There will be two bedrooms, with a 7 foot wide staircase/bookshelf going from the dining room up into them. The walls will be built with Compressed Earth Bricks, as will the floors.

The roof , which we are going to build first, set on concrete posts, will be made of latex concrete – a very fast, light, strong, easy method of building roofs, and our first time of using this system.

So far we have been prepping the site. We put a drainage pipe at the base of the current wall, just in case water should ever get under the rooms. We then put black plastic against the wall and filled in with gravel. The rest of the area has been filled in and leveled with dirt.

We built concrete retaining walls around what will be the stairs, and on the ends. And we are digging a drainage ditch to the north and uphill of the site, so that water should never get under the building.

So far, we have poured the bases of the northern posts and this week, we will be working on finishing the posts and starting to pour the stairs.

We will keep you posted on how this all goes.

More Photos

Saturday, February 28, 2009

Fabric Forming Posts

We have started back on the house this week. It's been rewarding, but tiring, as we are having to get used to working in the sun as the temperature climbs into the 80s.

We are now preparing to do the roof...yippee!

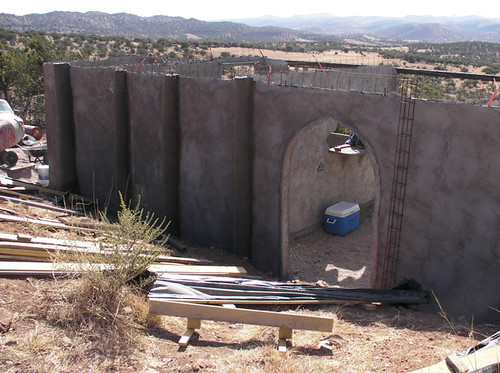
First off, we poured some posts on the north side of the north wall. The eventual plan is to half bury this wall and then build the kids' rooms on that higher level. However. until this next stage of the construction is completed, we were concerned that the wall would be able to give a little under the weight of the roof. So we poured 6 posts as extra support.

We are always looking for more efficient ways to do all the different aspects of building, and we feel we have a winning addition to this quest... fabric forming. In this case, we used the technique for posts, however it can be used for all kinds of things, including footings, arches, benches, etc.

We:
Dug a hole at base of wall where we wanted the posts to go.
Placed a castillo in the hole, raised up on rocks (you want concrete under any metal, so that there is no chance it can leach water and rust).
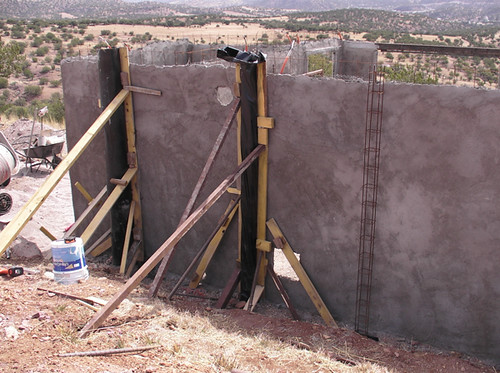
Tied the castillo to the top of the wall, with a gap between them and the wall.
stapled black plastic to two pieces of 8 foot 1x4s, 16 inches apart.
Placed one of the pieces of wood either side of the castillo, so that the black made a slack U around the metal.
Braced the wood, so that it was held tightly against the wall.
Poured concrete into the plastic, patting it as we poured.

It came out way better than we could have hoped. It was an extremely fast and easy form, and the final result was beautiful and rounded.

Two things that are a little odd, and we can't explain why they happened are:
1)The posts set up far faster than any other posts we've done, although they are drying out very slowly.
2)The concrete is a lot whiter and harder than other concrete of the same brand.

All in all, we loved our first taste of fabric forming and cannot wait to use it for footings and other projects.

For more photos, click here.
Blog Archive